1. Tilt the pelvic cushion to 25 degrees.
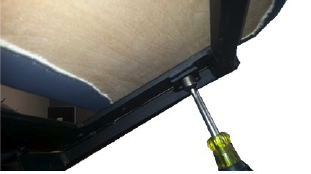
2. Remove the 7/16 bolts from the under side of pelvic cushion. (see photo)
3. Take off the cushion and set aside.
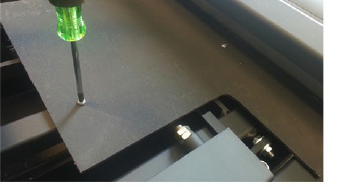
4. Remove the two screws and remove the plastic cover. (see photo)
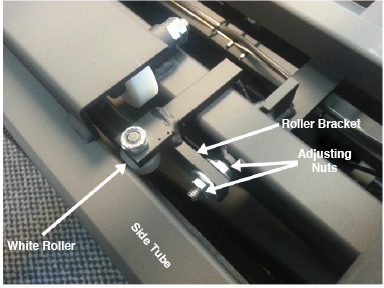
5. Using a 7/16 wrench, adjust the nuts so that the White Rollers are almost touching the Side Tubes of the top frame. There are roller assemblies on both sides of the table. You should be able to slip a piece of paper in between the Rollers and the Side Tube. With all nuts tightened against the Roller Bracket, repeat steps 1-4 in reverse order. (see photo)
6. Test table for proper functionality and lateral stability.