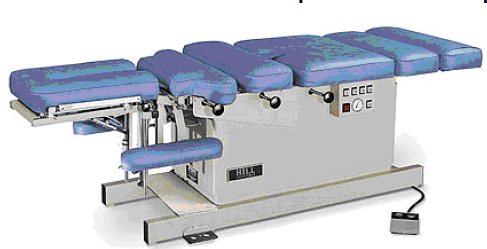
GAIN ACCESS by using the pedal to elevate the table. Remove the six screws that secure the inner section of plastic enclosure to the base and hold it up with tape or string.
1. UNLOADER VALVE - The location of the valve is indicated in the photo below. There is a hole at the top of the valve that only exhausts a quick burst of air as soon as the compressor stops. It should not leak air at any other time.
A. Put your finger on the hole while the compressor is running. If air is escaping then the coil is bad, replace it.
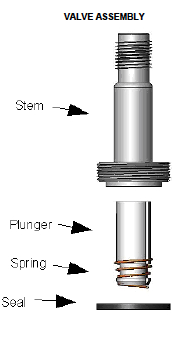
B. The next test is done with the compressor off. Use a little soapy water or Snoop on the same hole to see if there is a leak. The plunger may have some dirt under it which prevents it from sealing completely. The valve assembly can be separated and cleaned with a cotton swab or replaced.
TOOLS NEEDED: 9/16" wrench & valve tool
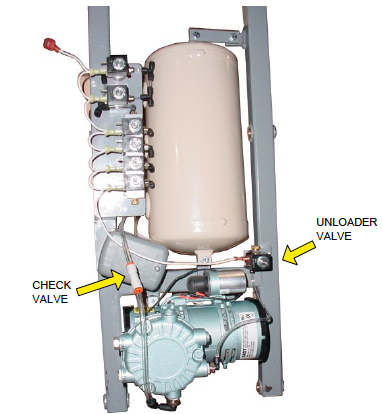
2. CHECK VALVE -
The location of the valve is indicated in the photo on the previous page. Turn the table off with air in the system. Disconnect the hose where it enters the check valve from the compressor side. The hose can be disconnected by pushing the colored ring into the fitting. Gently pull on the hose while holding the ring in. Use a little soapy water or Snoop on the end of the check valve where you removed the air hose. If it is leaking, replace the valve.
3. FITTINGS - If the Check and Unloader valves are good then begin looking for a leak elsewhere in the system. Use soapy water or Snoop wherever an air hose enters a fitting. If it leaks remove the hose from the fitting, cut off the last half inch of hose, and reinsert the new end into the fitting.
4. PRESSURE SWITCH - The pressure switch is the "box" located under the check valve in the photo on the previous page. An older version of pressure switch, made with a black enclosure instead of gray, had a separate needle valve which could be replaced. No need to replace the pressure switch itself.