Use the foot pedal to lower top to horizontal position.
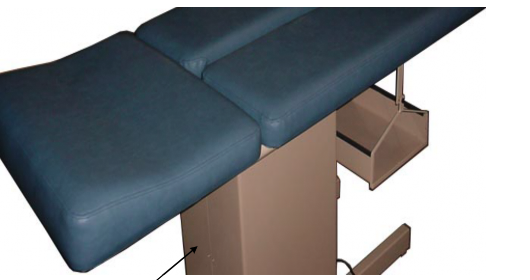
Remove row of vertical screws at the foot end of the plastic enclosure as well as those around the bottom edge. Remove the enclosure.
Use the pedal to tilt the head end of the top up until the foot platform is resting on the floor.
NOTE: It will be easier to insert new worm gear if the top does not move once the original worm gear is removed.
UNPLUG THE TABLE. Use the appropriate instruction sheet for the brake and/or worm gear to replace each component.
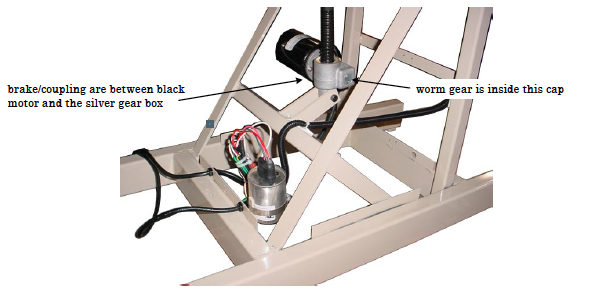
Instructions for Replacing the Worm Gear in an Actuator:
Problem:
The table is making a high-pitched winding sound when the height is adjusted.
Solution:
The actuator worm gear needs to be replaced Do the following to fix the problem:
IMPORTANT: It is not necessary to remove the actuator from the table as shown here!
- Adjustable height tables - Adjust the table height to the middle height setting. Unplug the table, and then gently tip the table up so that it stands on the foot end of the table.
For HiLo tables - just Jay table on its side to access the actuator.
2. If your table has a grease fitting (see Photo 1), first remove it with a pliers or adjustable wrench.
3. For actuators that do not have a grease fitting, unscrew the cap by tapping counter clockwise with a hammer and nail (or punch), angling the nail into the depressions in the cap as shown in photo 2.
4. Remove grease from the original worm gear and spread a nice coating on the new worm gear before installing it.
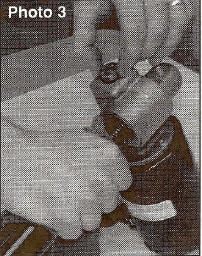
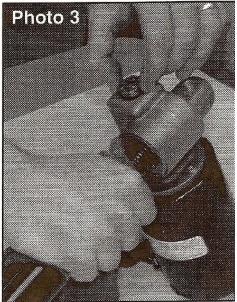
5. Take a rag and wrap it around the actuator shaft (see photo 4). Then with your hand on the rag, slowly rotate the shaft clockwise until the worm gear pops up from the casing as shown in photo 3. IMPORTANT: Only rotate the worm gear upwards enough to grasp it with your fingers but no further. Also, do not turn the actuator shaft after removing the worm gear as this will make placing the new one more difficult.
6. Remove the old worm gear.
7. Insert the new worm gear into the casing, aligning it with the "half-moon slots in the brake at the bottom of the hole. If the gear does not immediately align, then grasp the actuator shaft with your hand, and slightly rotate the shaft. The gear will pop into place as you move the shaft (it may be necessary to pull the gear back out and rotate the actuator slightly.) When the gear is properly seated, it should recede approximately 1/4 inch below the top of the casing in order to replace the cap.
8. While continuing to hold the actuator shaft, replace the cap and tighten.