-
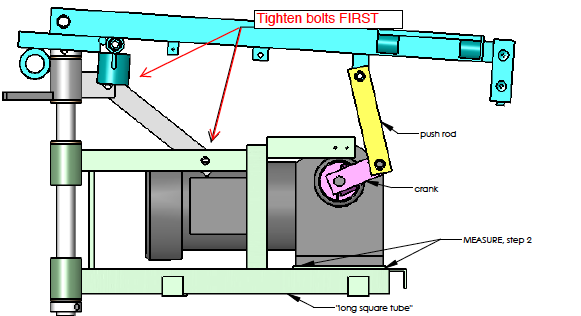
Remove the bolt that attaches the push rod to the pelvic frame. Verify that the tab the push rod was attached tois straight down from (perpendicular to) the cross member of the pelvic frame. It must not lean to the left or right.
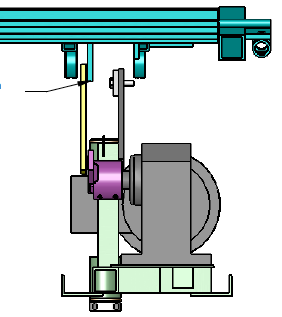
2. Verify that the motor is mounted straight on the welded bracket. This can be checked by taking measurements from two corners of the motor base to the side face of the long square tube. The distances should be the same. Do not compare the base of the motor and the plate it is bolted to. Explanation: If the shaft of the motor is not perpendicular to the pelvic assembly than the crank will have a binding affect at "3 o'clock" and "9 o'clock" of its rotation.
3. Before attaching the push rod to the frame again, allow the pelvic frame to rest on the crank handle of the motor. The face of the crank handle and the side of the tab should be flush. If they are not, loosen the screws securing the crank on the shaft and slide it until the faces are flush. Tighten the screws again.
4. Reattach the push rod.