IMPORTANT: Make sure the green board has no power when connecting and disconnecting. Arching can damage the board.
PREP includes:
- Unplug the table.
- IF table has two control boxes, remove the jumper where it says "Console 2 Enable".
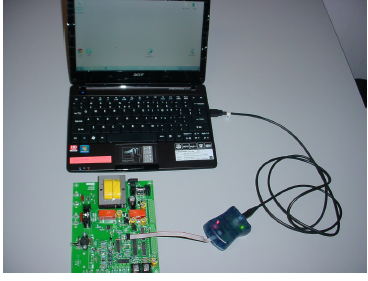
- Connect programmer module to USB of computer and 6-pin connector at "J3" on board (see close-up view below). Orient the red marker on ribbon towards the transformer.

INSTALL:
- Plug the table in.
- Press On/Off button on the control box of table to power the board.
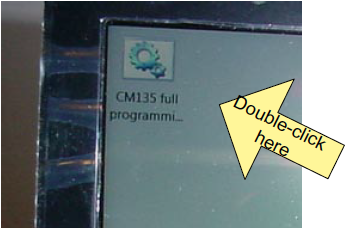
- Double-click on the firmware icon located is in the upper left corner of the Desktop.
A window will open and DOS code will appear. It takes about five seconds. The same window will turn green when the installation is successful. If the window turns red then review the connections and try again.
4. Press On/Off button at control box to turn power off.
5. Remove programmer cable from J3 location on board.
6. Reconnect the jumper to "Console Enable".