INS-126
Parts Required: H49
1. Unplug table.
2. At the foot end of the table, remove the screws that hold the plastic table skirting for the back side of the skirt. This will allow you to “flap” the skirt open at the back of the table and access the inner workings.
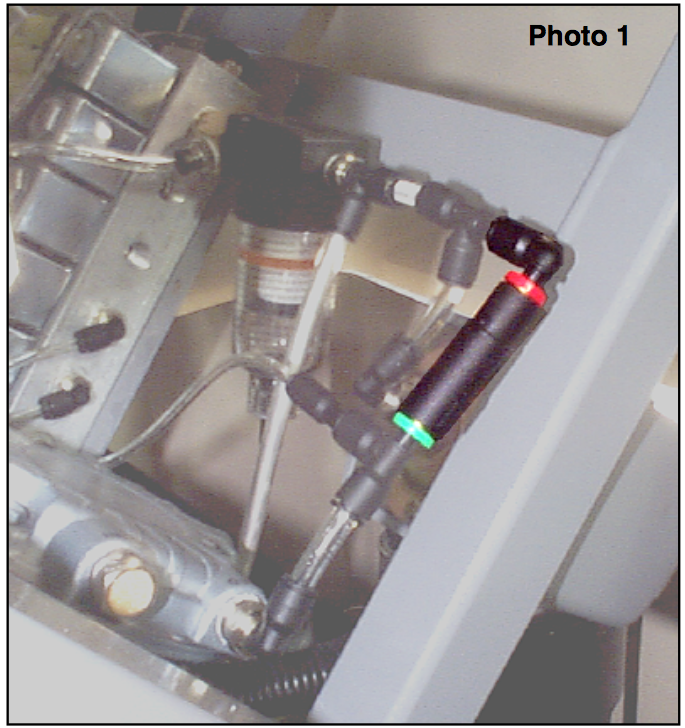
3. Locate the check valve in the hose assembly as shown (some models may not have the red and green ring but black or orange instead). (see photo 1)
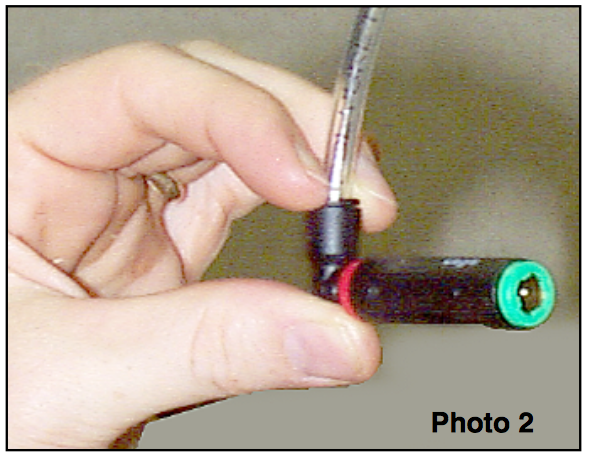
4. Remove the old valve by depressing the plastic ring around the hose (see photo 2) and then pulling out on the hose at the same time. Do this on both sides of the old check valve to remove.
5. Insert the new valve as shown in photo 1 (with the direction arrow pointing away from the compressor). NOTE: It is not necessary to depress the ring when inserting the hoses.
6. Replace skirt.